|
|
||
|---|---|---|
| assets | ||
| build-template | ||
| dist | ||
| examples | ||
| scenes | ||
| shaderlib | ||
| src | ||
| .gitattributes | ||
| .gitignore | ||
| export_presets.cfg | ||
| LICENSE | ||
| project.godot | ||
| README.md | ||
| screenshot.png | ||
Fragmented
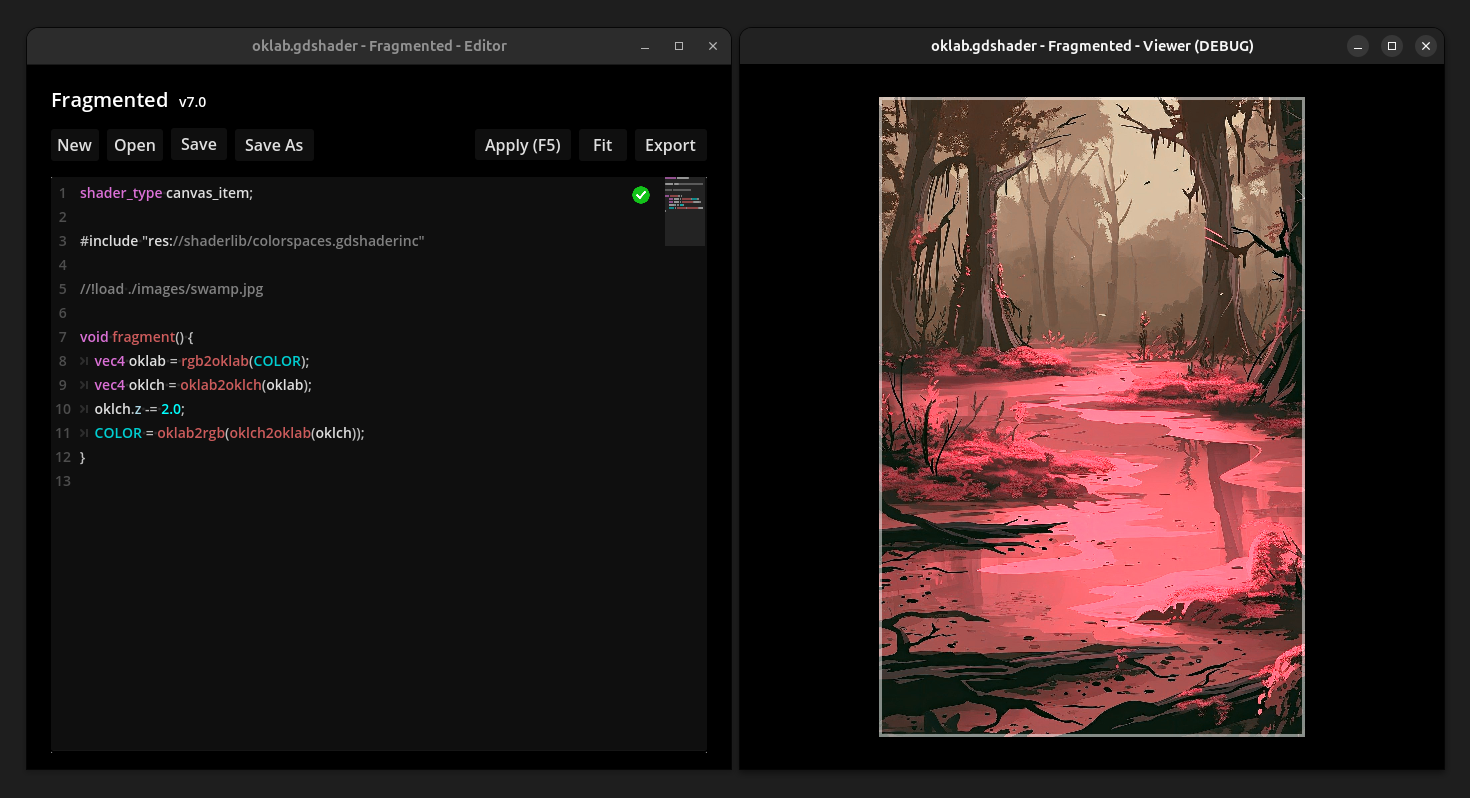
Create image filters by writing shaders.
Supported Platforms
- Linux
You can find the latest releases here.
Usage
The repo includes examples. You can use them as a starting-point to write your own filters.
Just load an image using //!load, edit the shader code and hit F5 to see the changes.
Load TEXTURE using the //!load directive
//!load <filepath>
The main image file will be read and available as the sampler2D TEXTURE.
Load additional images
//!load+ <name> <filepath>

uniform sampler2D <name>;
Have a look at the place_texture.gdshader example.
Have multiple steps with //!steps n
You can apply your shaderfile multiple times. At every additional step, TEXTURE is the result of the previous step. This can be used to chain effects that cannot be easily chained otherwise.
To query the current step index, a STEP uniform is automatically injected. If steps is set to 0, your shader won't be applied at all.
Example:
//!load ...
//!steps 5

void fragment() {
  if (STEP == 0) {
	...
  } else if (STEP == 1) {
	...
  }
  // ... and so on
}
Shaderlib
This repo comes with a (still small) shader library including pre-written functions and more.
Have a look at the shaderlib folder.
Here is an example:
shader_type canvas_item;

#include "res://shaderlib/hsv.gdshaderinc"

//!load ./examples/images/swamp.jpg

void fragment() {
	COLOR = hsv_offset(COLOR, 0.32, 0.2, 0.0);
}
Commandline interface
You can run Fragmented from the commandline or scripts.
Note: Headless mode is not supported. Using the commandline interface still opens a window.
Usage
./Fragmented cmd --shader PATH [--load-image PATH]

  --shader PATH      The path to the shader
  --output PATH      Where to write the resulting image to
  --load-image PATH  The path to the image. This will overwrite the
                     load directive of the shader file (optional)
You can also run ./Fragmented cmd help to show the help message.
Examples
./Fragmented cmd --shader ./examples/oklab.gdshader --output ./output.png
./Fragmented cmd --shader ./examples/oklab.gdshader --load-image ~/Pictures/test.png --output ./output.png