| build-template | ||
| examples | ||
| shaderlib | ||
| src | ||
| tools | ||
| .gitattributes | ||
| .gitignore | ||
| dist.sh | ||
| export_presets.cfg | ||
| LICENSE | ||
| project.godot | ||
| README.md | ||
| screenshot.png | ||
Fragmented
An image editing/compositing software for graphics programmers.
Table of Contents
Supported Platforms
- Linux
You can find the latest releases here.
Usage
With Fragemented, you are processing images with GDShaders. This brings almost endless opportunities to create unique art.
If you want to learn GDShader, take a look at the Godot docs.
The builtin editor got removed from Fragmented with version v9.0. I advise you to write your shaders directly in the Godot Editor.
To get started, use the project template (see the Releases section of this repo) and open it in Godot.
The template includes many examples. You can use them as a starting-point to write your own stuff.
Besides the regular GDShader stuff, Fragmented has so-called directives. Those allow to further control the behaviour of the application. The most important directive is //!load to load an image.
Load TEXTURE using the //!load directive
//!load <filepath>
The main image file will be read and available as the sampler2D TEXTURE.
Load additional images
//!load+ <name> <filepath>

uniform sampler2D <name>;
Have a look at the place_texture.gdshader example.
Have multiple steps with //!steps n
You can apply your shaderfile multiple times. At every additional step, TEXTURE is the result of the previous step. This can be used to chain effects that cannot be easily chained otherwise.
To query the current step index, a STEP uniform is automatically injected. If steps is set to 0, your shader won't be applied at all.
Example:
//!load ...
//!steps 5

uniform int STEP; // this is mandatory!

void fragment() {
  if (STEP == 0) {
	...
  } else if (STEP == 1) {
	...
  }
  // ... and so on
}
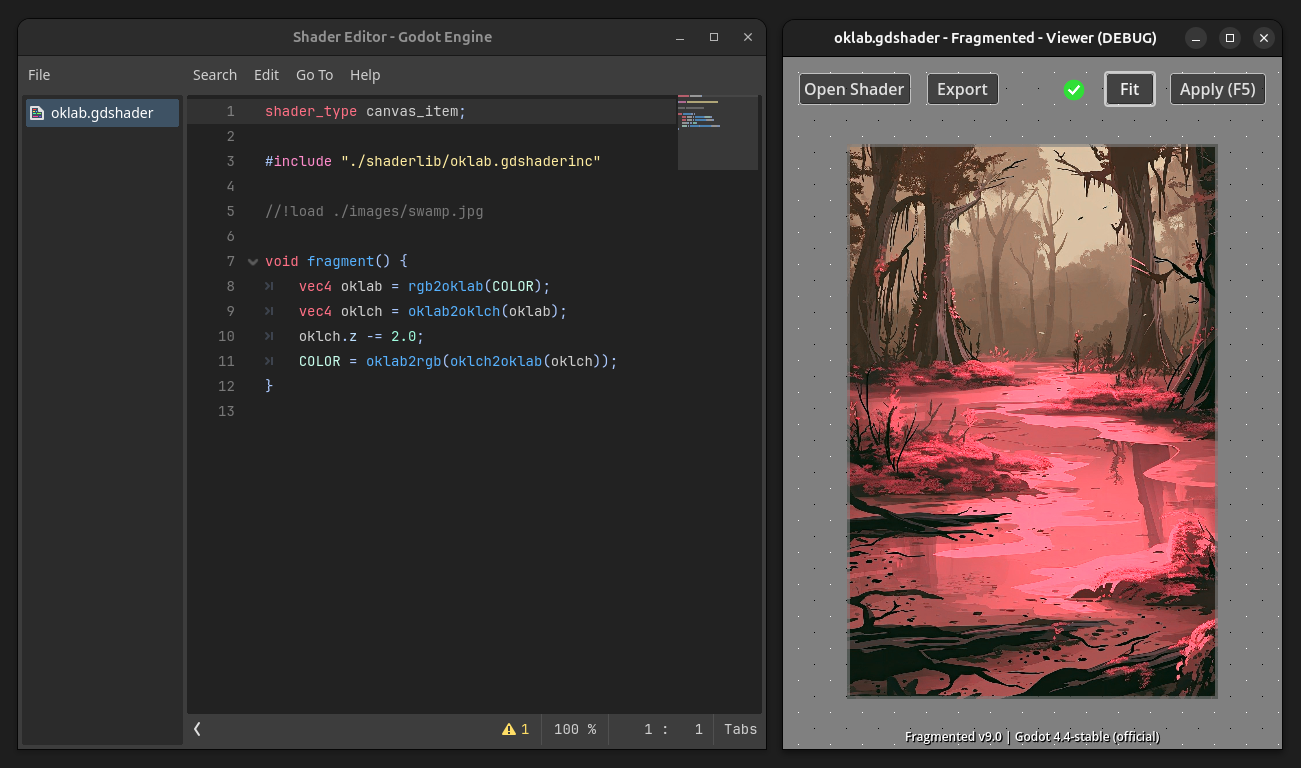
Shaderlib
This repo comes with a (still small) shader library including pre-written functions and more.
Have a look at the shaderlib folder.
Here is an example:
shader_type canvas_item;

#include "./shaderlib/oklab.gdshaderinc"

//!load ./images/swamp.jpg

void fragment() {
	vec4 oklab = rgb2oklab(COLOR);
	vec4 oklch = oklab2oklch(oklab);
	oklch.z -= 2.0;
	COLOR = oklab2rgb(oklch2oklab(oklch));
}
Commandline interface
You can run Fragmented from the commandline or scripts.
Note: Headless mode is not supported. Using the commandline interface still opens a window.
Usage
~ Fragmented CLI ~
-================-

Usage:

./Fragmented <command> <args...>

Commands:

 help

  | Shows this help text.

 apply --shader PATH [--load-image PATH]

  | Applies a shader file.

    --shader PATH      The path to the shader
    --output PATH      Where to write the resulting image to.
                       In batch mode, this must be a folder.
    --load-image PATH  The path to the image. This will overwrite the
                       load directive of the shader file.
                       Passing a folder activates batch mode.
                       (optional)
Batch Mode
Since version v8.0, you can pass a directory to --load-image and --output. This will process all images in the input directory and write the output to the output directory.
Note: You can use this feature for video frames, but it will take a loooong time.
Examples
./Fragmented apply --shader ./examples/oklab.gdshader --output ./output.png
./Fragmented apply --shader ./examples/oklab.gdshader --load-image ~/Pictures/test.png --output ./output.png
Known Issues
- screen scaling is unsupported; Using screen scaling could lead to an either blurry UI, or no scaling at all -> see #45
- commandline interface:
--headlessis not supported